Receiving email
Received email is available in Email > Emails > Receiving, through the inbound-messages API, and in email.received webhooks. Choose between two setup methods based on the address you want to receive mail at.
- A forwarding address is a mailbox we generate for you, like
mfzxq2lom5uxi3lb@eu1.inbound.bird.com(@us1.inbound.bird.comin the US region). No domain, no DNS: you point an existing inbox's forwarding rule at it, and we receive every message it forwards. - Receiving on your own domain publishes MX records for a subdomain you control (say
inbound.acme.com), after which mail sent to any address at that subdomain arrives as an inbound message.
Start with a forwarding address if you want to try receiving, or to forward an existing support inbox's mail. Set up domain receiving when you want mail addressed directly to your own domain.
Forwarding addresses
In Email > Domains > Forwarding, select Add forwarding address and enter a name such as Support inbox. We generate a fixed, random address. You can rename its label later. Deleting one forwarding address stops mail to that address without affecting the others.
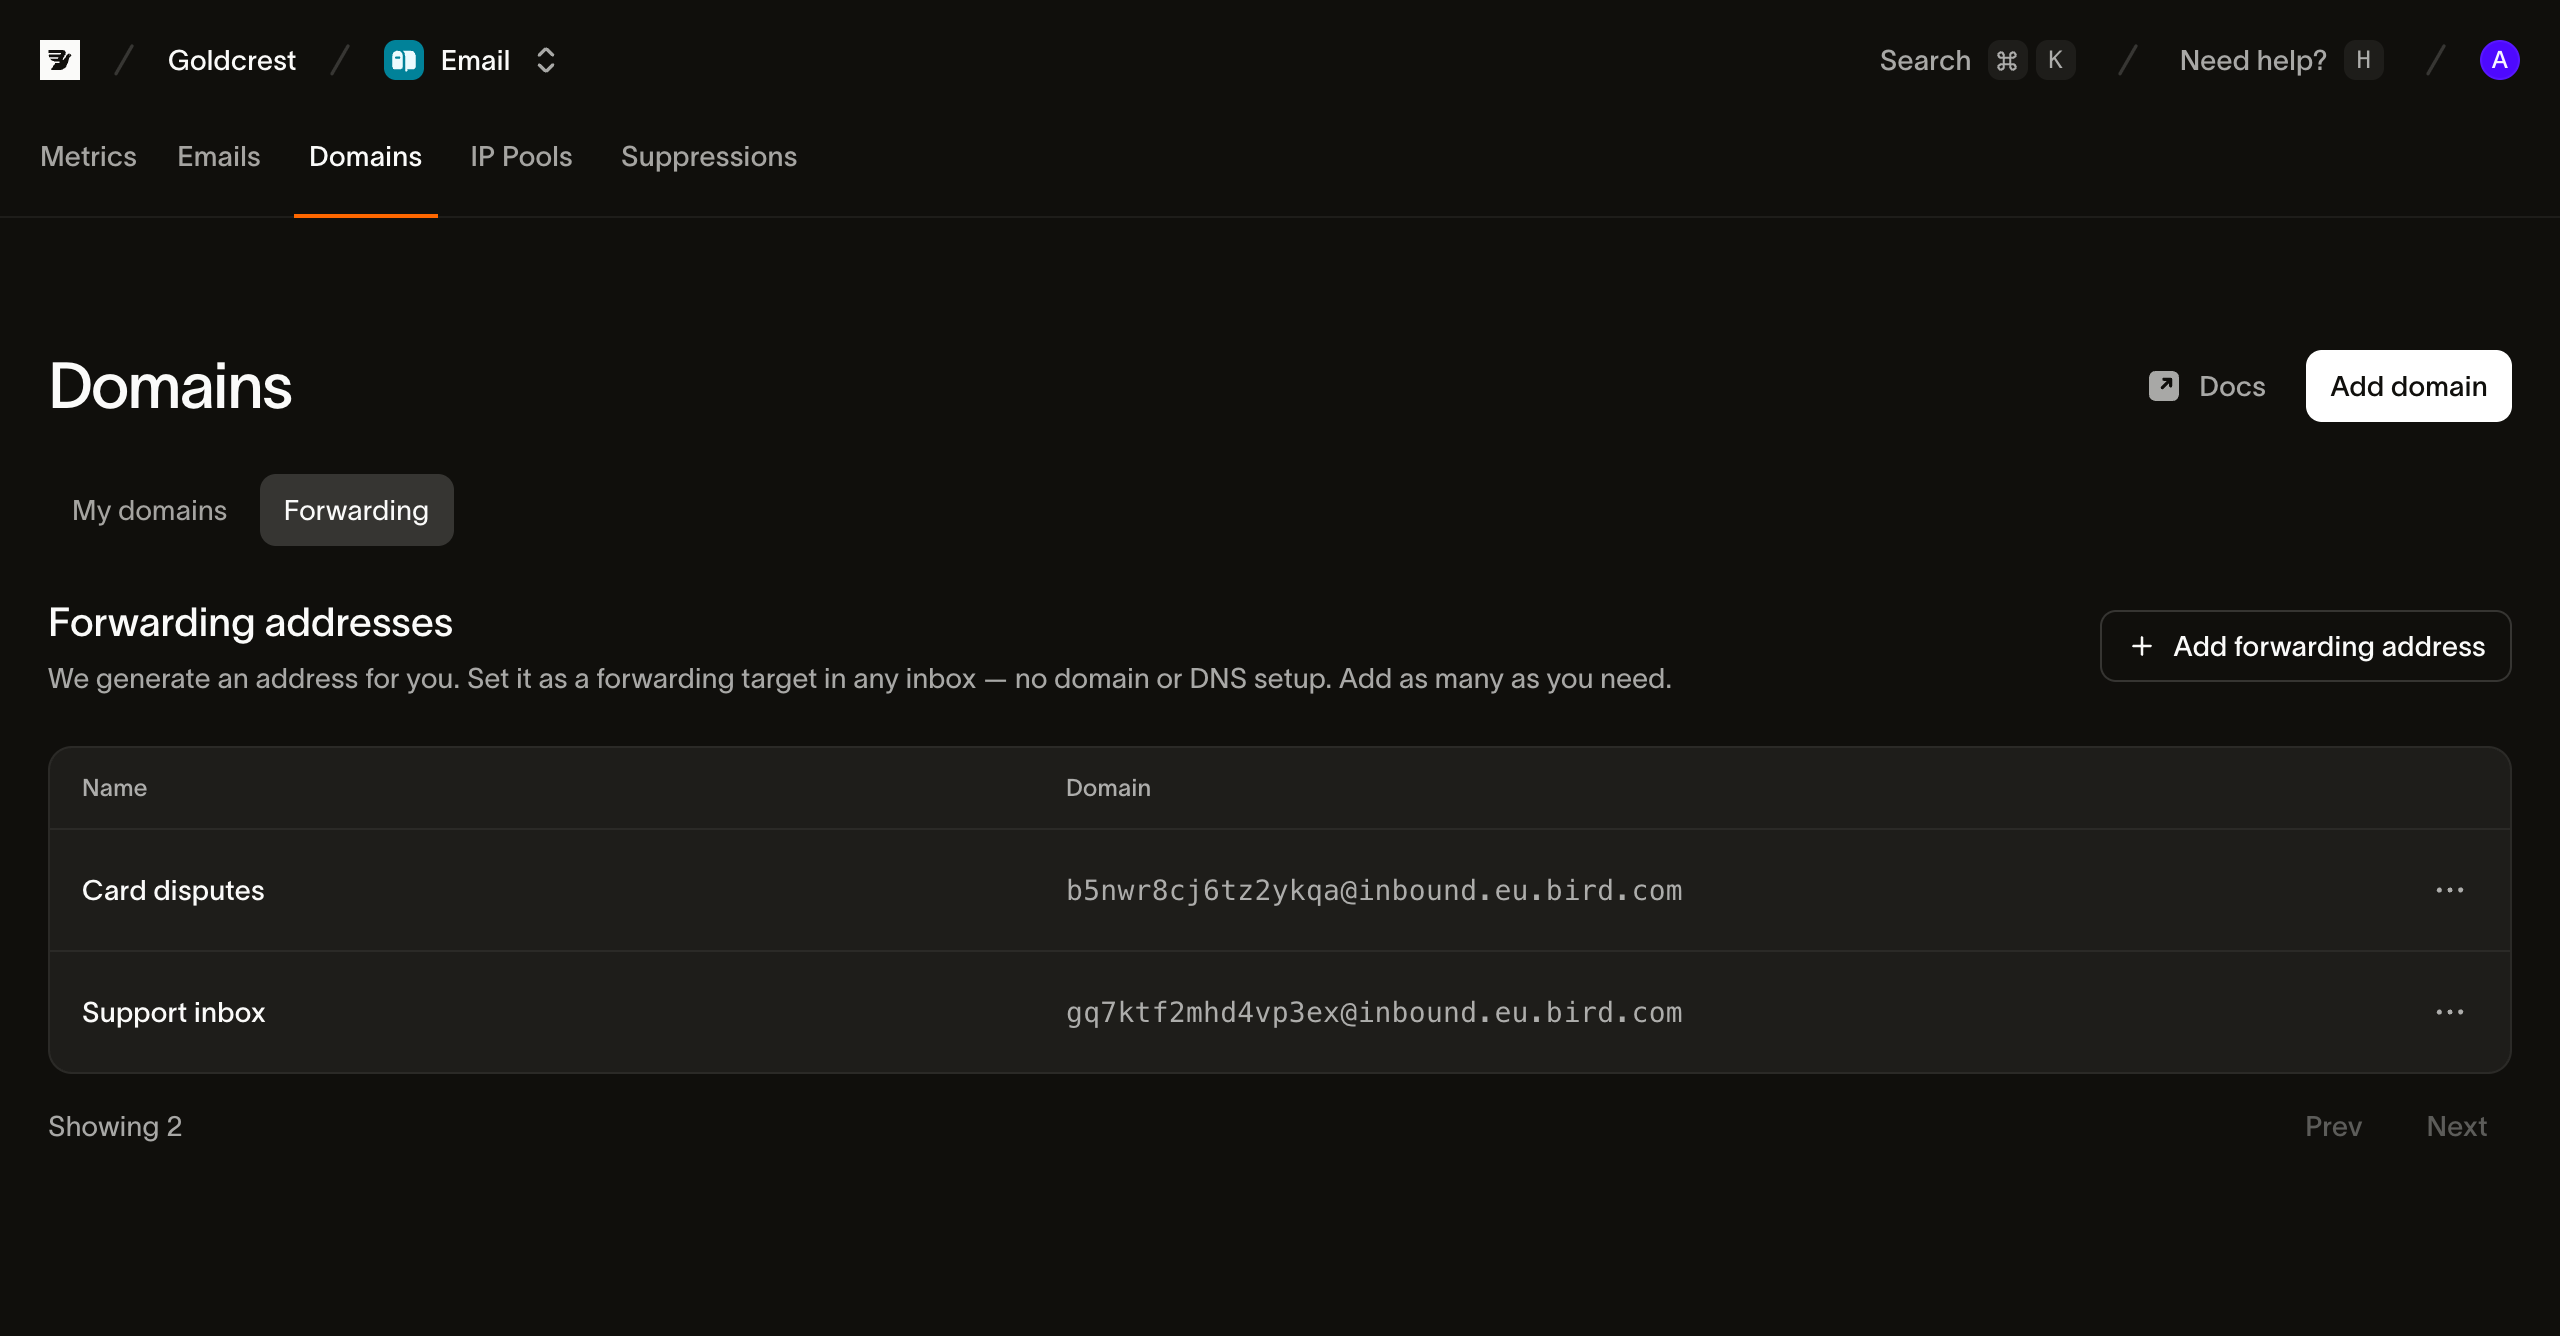
Programmatically, POST /v1/email/inbound-addresses does the same thing (CLI: bird email inbound-addresses create). The response has the generated address, its id, and your label.
Then set that address as the forwarding target wherever the mail lives today: a Gmail or Google Workspace forwarding rule, an Outlook rule, or your helpdesk's forwarding setting. We receive whatever is forwarded, parse it, and store it as an inbound message.
To read and answer forwarded mail as support@acme.com, create an agent mailbox on your verified domain instead. A mailbox on a domain without receiving gets its own forwarding address, and its replies go out from your address.
Receiving on your own domain
Domain receiving is a capability of a sending domain, so the domain must be registered and DKIM-verified first. Use a dedicated subdomain (inbound.acme.com), never your apex: receiving is enabled on the domain's own registration, and apex MX records would capture your corporate mail.
Open Email > Domains, then select your domain. In Receiving (Optional), turn on receiving and publish the listed MX records. You cannot enable receiving until DKIM is verified. A domain that already receives mail for another organization is also unavailable.
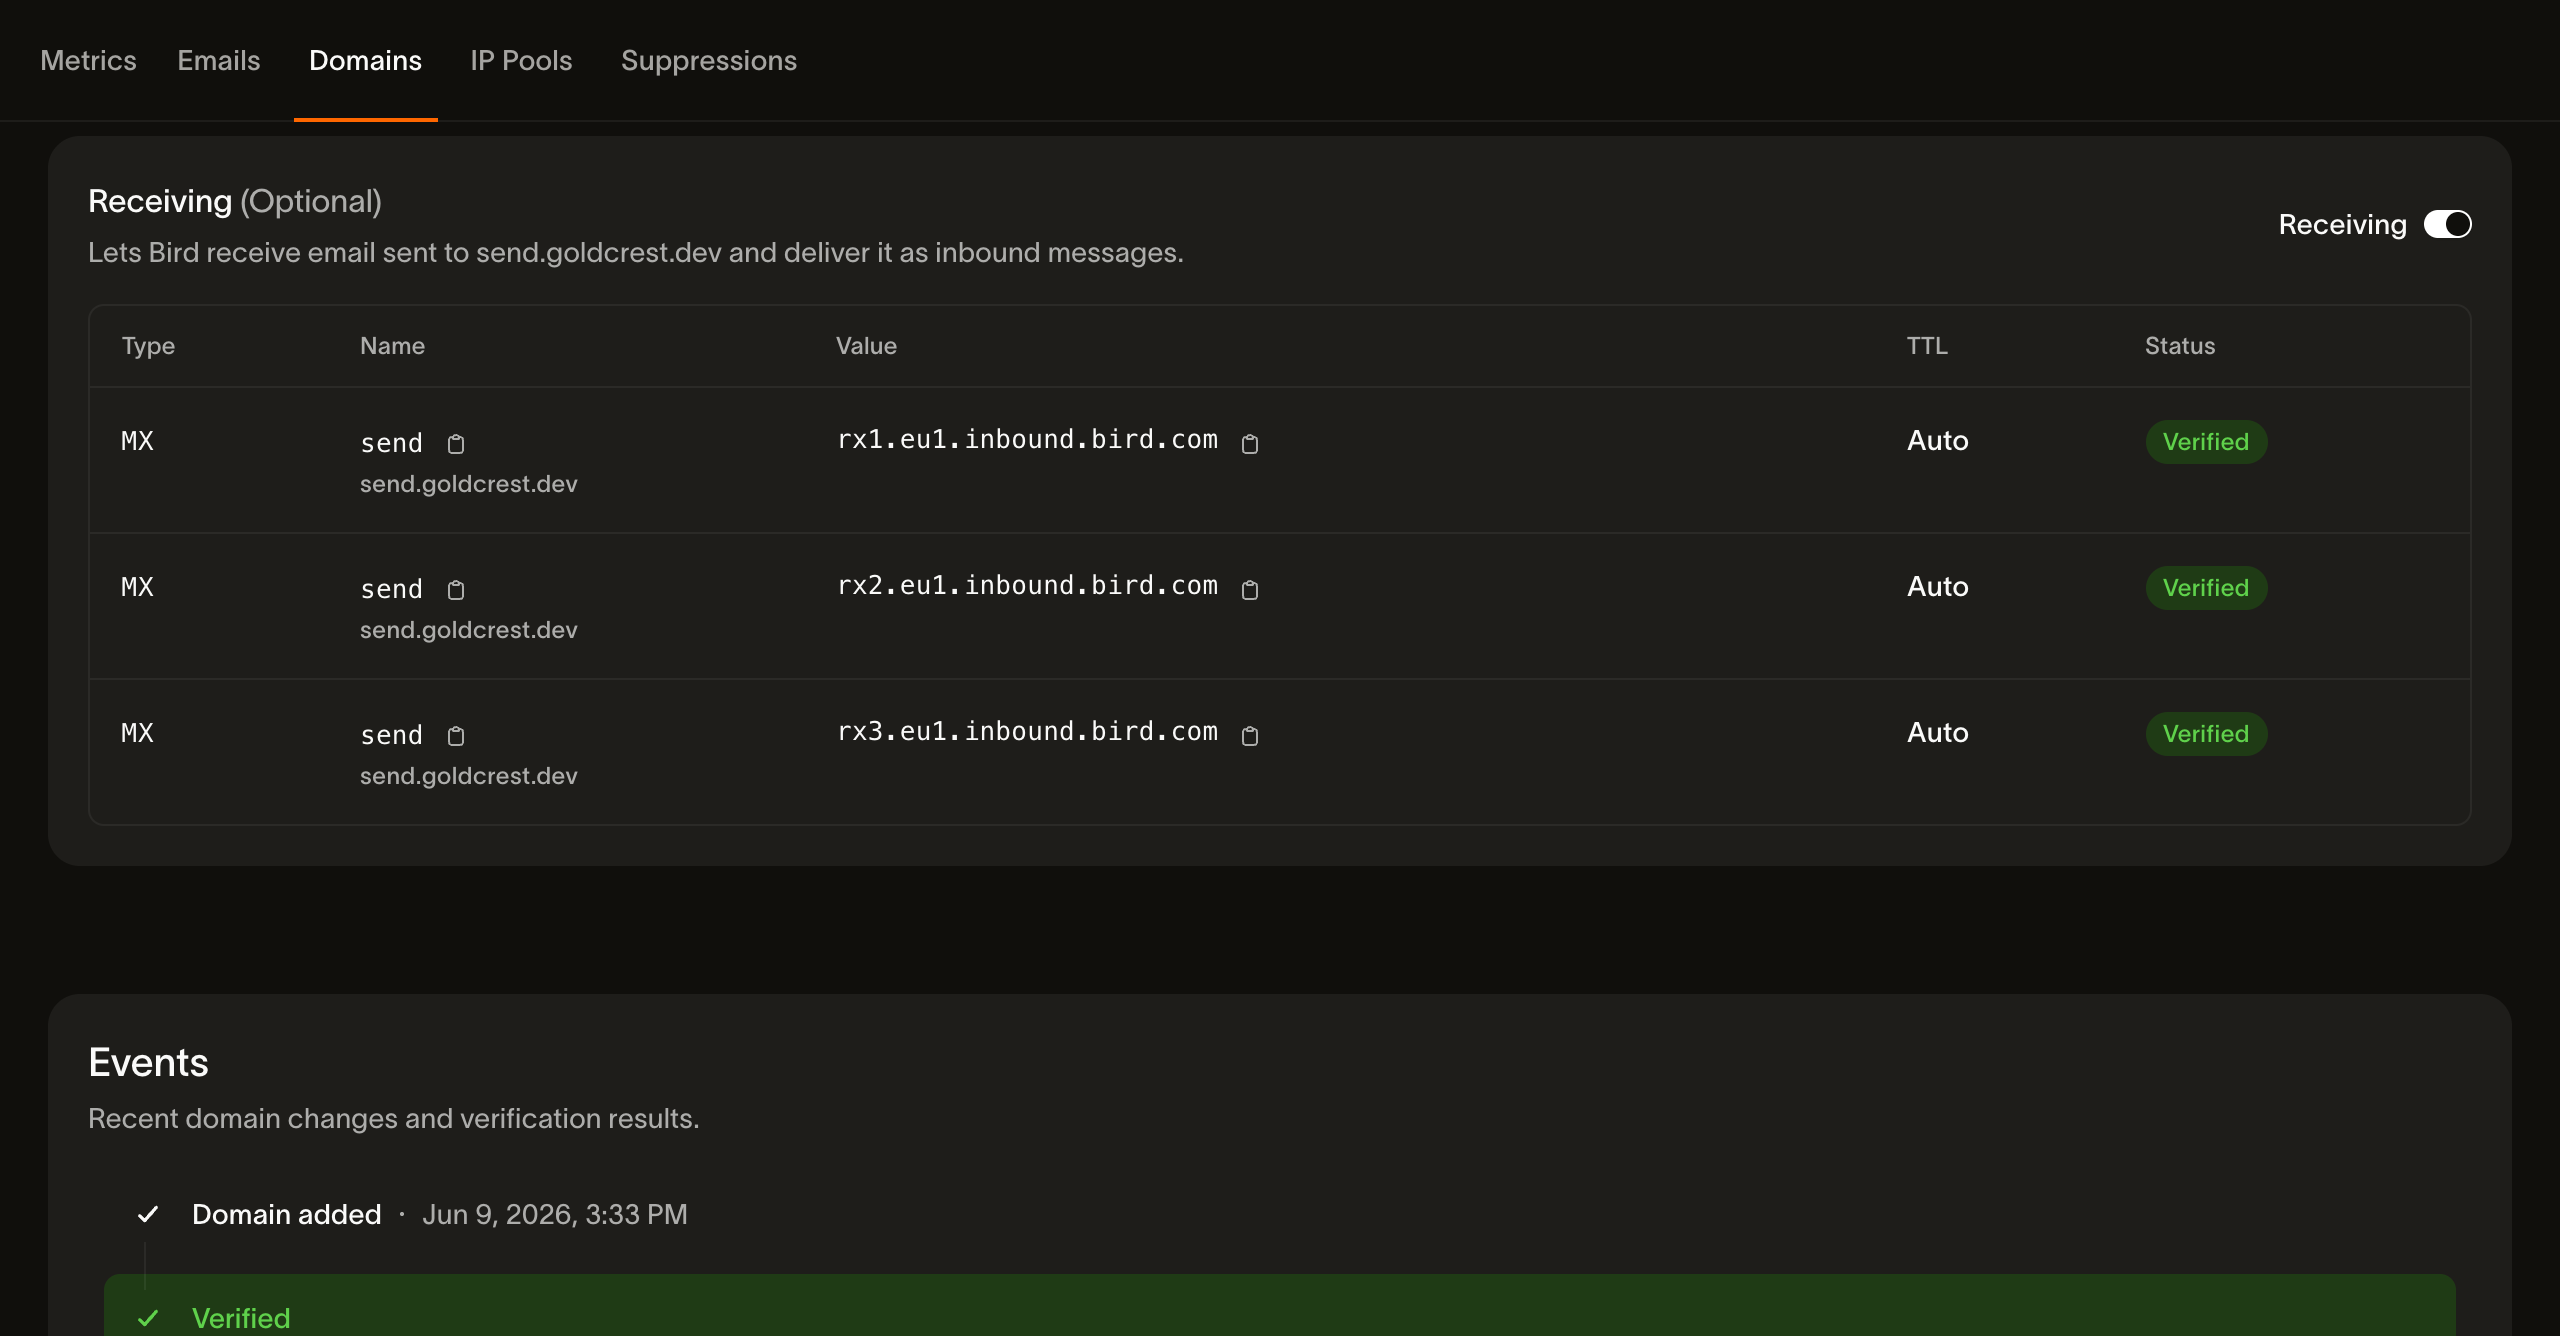
Once enabled, the receiving status moves through the same lifecycle as the sending records: pending while we check DNS for the MX records, then verified once they resolve correctly. From that point, mail sent to any local-part at the domain (support@, orders@, anything) is delivered as an inbound message. Turning the toggle off stops delivery of inbound mail. The MX records stay listed on the domain as a reference, with their status back at pending.
Inbound message size
Bird supports inbound messages up to 20 MB, attachments included, on every receiving domain in every region. Larger messages are outside the supported limit, even if the sending server receives an SMTP acceptance response. Do not rely on their delivery.
An oversized message can be refused during the SMTP transaction with 552 5.3.4 message size limit exceeded. The sending server receives this refusal and can notify its sender. Bird never truncates a message to fit a size limit.
Reading what you receive
The Receiving tab lists received messages newest first, with sender, recipient, subject, and received time. Search by exact sender address or filter by date. Select a row to open Rendered, Text, Details, and Raw views. The header shows the SPF, DKIM, and DMARC results recorded when the message arrived.
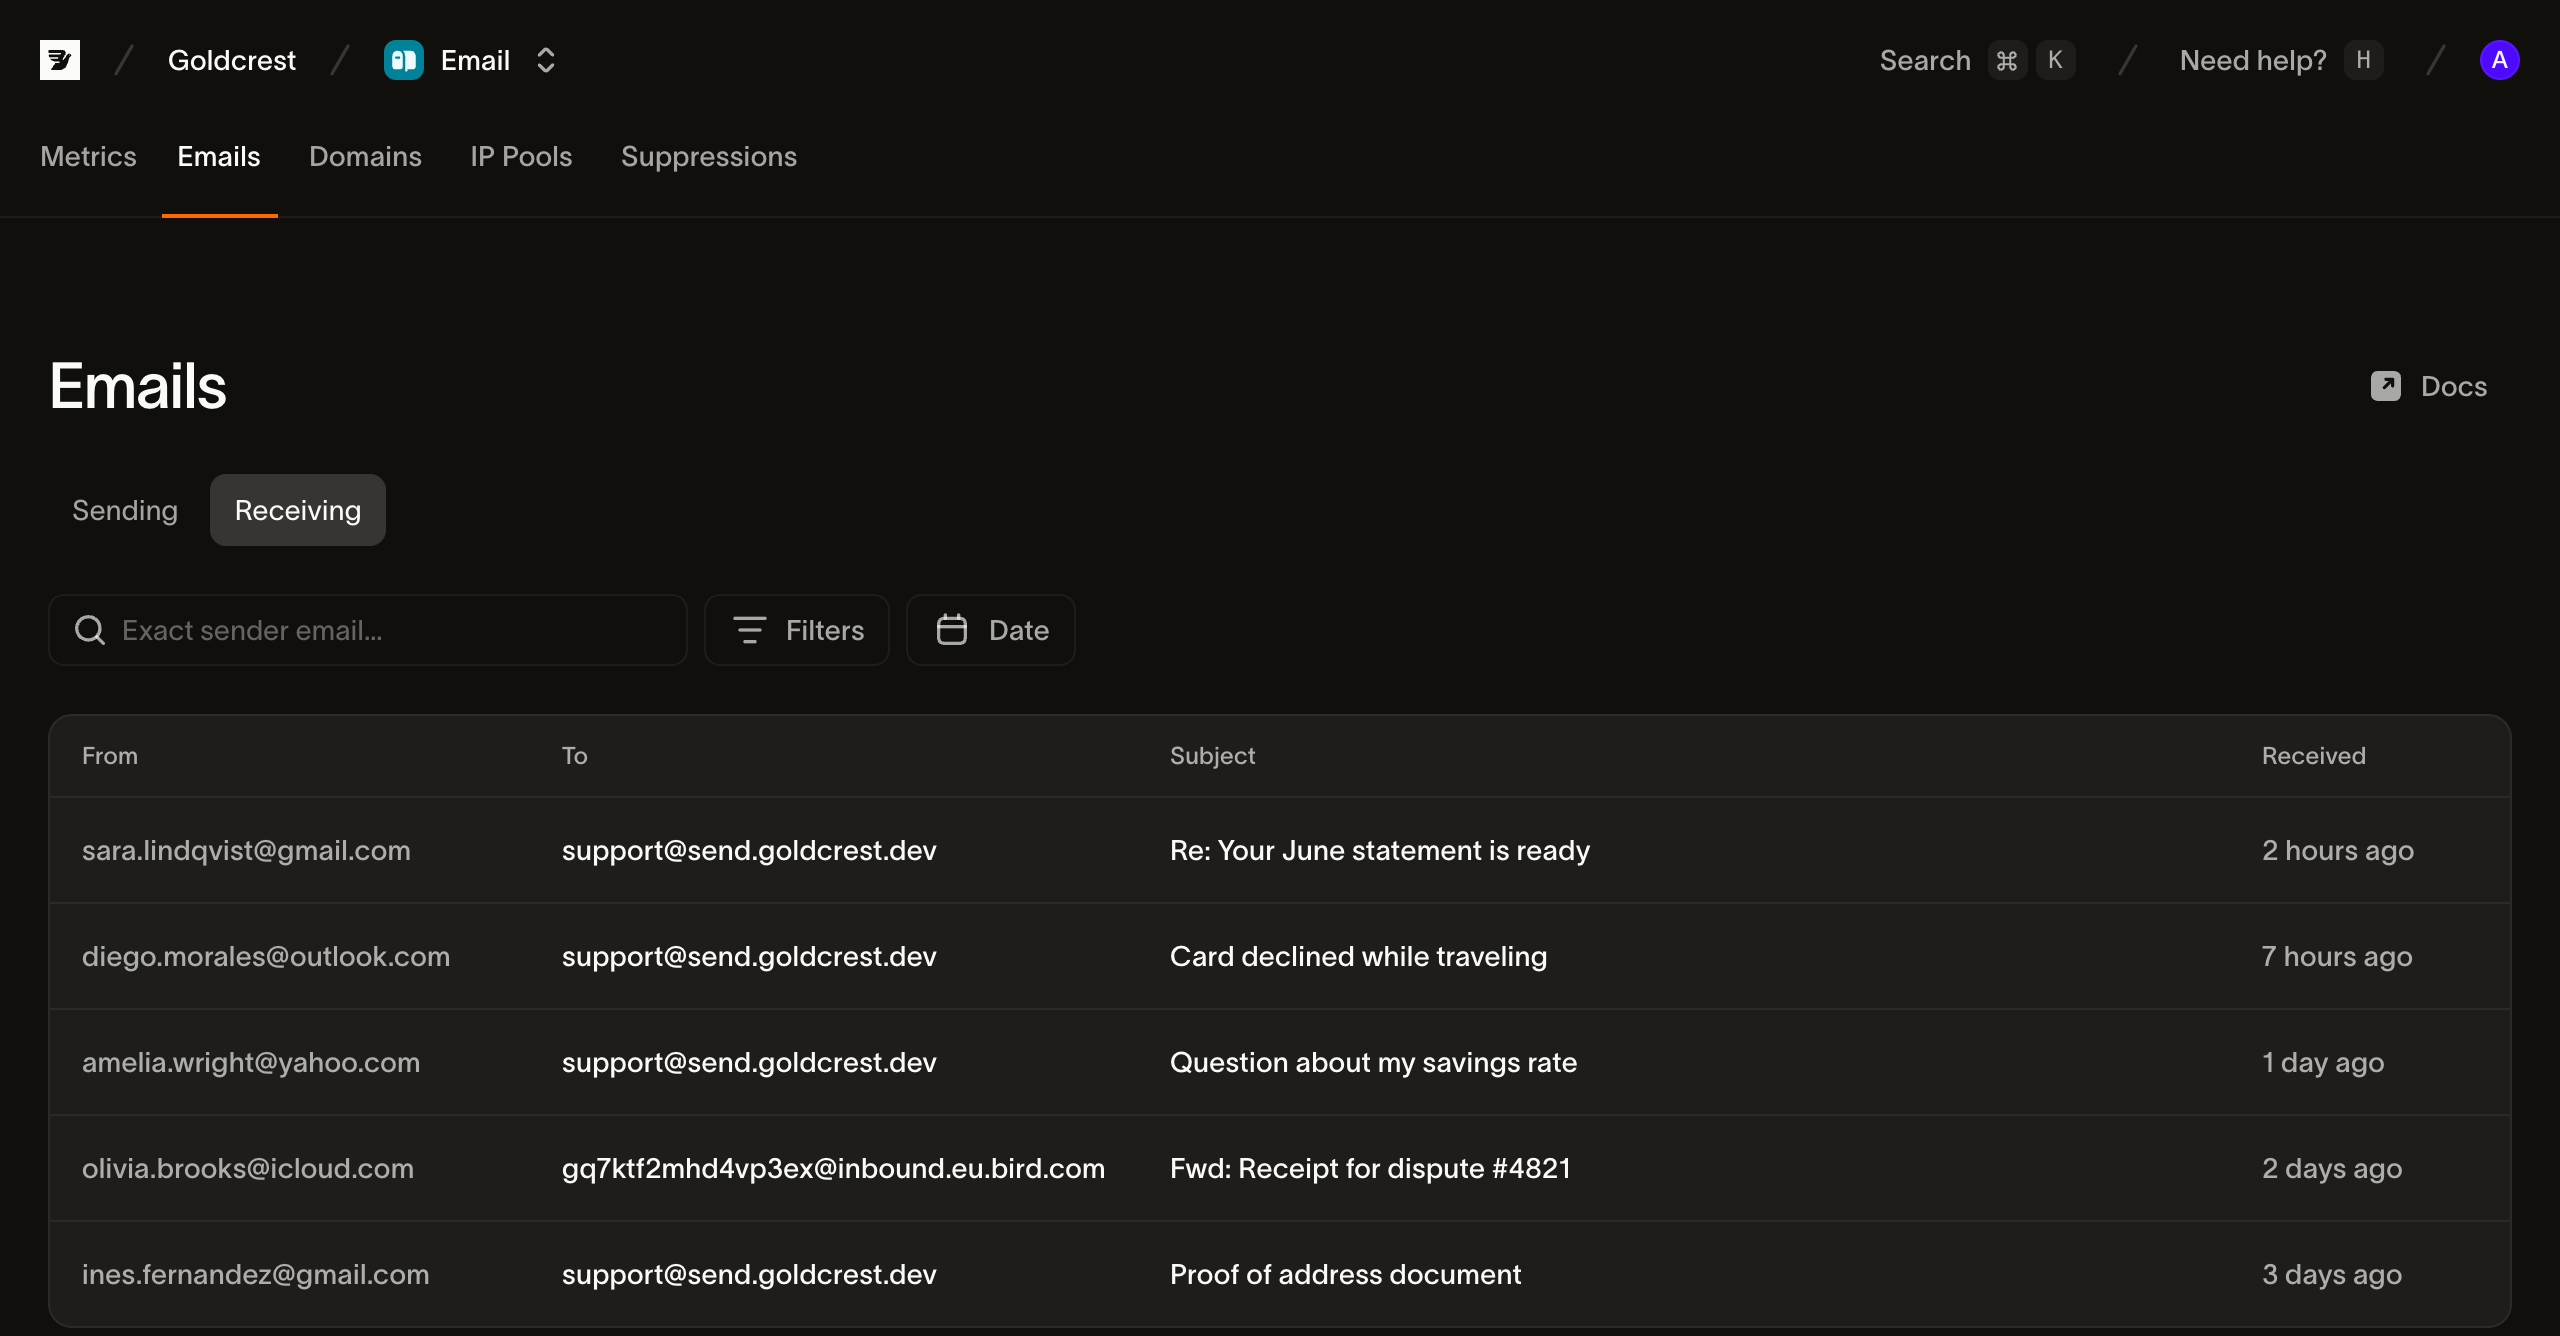
Received emails are retained for 30 days.
The same data is available over the API (CLI: bird email inbound-messages):
GET /v1/email/inbound-messageslists messages, filterable by sender, inbound address, mailbox, and received time.GET /v1/email/inbound-messages/{id}returns one message's parsed metadata: addressing, subject, threading references, receiving mailbox and conversation, authentication results, and attachment metadata.GET /v1/email/inbound-messages/{id}/bodyreturns the HTML and plain-text bodies.GET /v1/email/inbound-messages/{id}/attachmentslists attachments; each can be downloaded individually.GET /v1/email/inbound-messages/{id}/rawreturns the original message exactly as received, in RFC 5322 (MIME) format.
Mail received by an agent mailbox carries its mailbox_id in these responses, including mail placed in spam or blocked, and its thread_id while the mailbox keeps the message. Once the message is deleted from the mailbox, thread_id is null. Mail received on an inbound address or domain without a mailbox has both set to null. To collect every mailbox's mail in one loop, page through the list without a filter and use mailbox_id to assign each message; filter by mailbox_id to read or replay a single mailbox.
Reacting to received mail: the email.received webhook
To process mail as it arrives (route support requests, ingest replies, trigger an agent), subscribe a webhook endpoint to the email.received event. We fire it after receiving and parsing each message. The payload includes the inbound_message_id, sender from the message’s From header, recipients, subject, and in_reply_to reference. It also includes an overall authentication verdict (pass, fail, or unknown) and the individual SPF, DKIM, and DMARC results; Using authentication results explains which of them are populated today. This information supports routing and triage without a follow-up call. When you need the body or attachments, fetch them with the inbound-messages API using the inbound_message_id from the event. The message is stored before the event is sent, so that id resolves as soon as the event reaches you: fetch /raw or /body straight from your handler, with no wait and no polling.
Using authentication results
SPF and DKIM are checked when a message reaches Bird. Headers the sender adds, such as their own Authentication-Results, do not change these results.
The spf_pass and dkim_pass fields are each true, false, or null. null means no result was recorded, including when a check could not complete. A passing DKIM signature makes dkim_pass true even when another signature on the message fails. The fields do not expose detailed result tokens, signing domains, or selectors.
DMARC results are not available yet. Until they are, dmarc_pass and spam_score are always null, and authentication, which follows dmarc_pass, is always unknown. Do not route on dmarc_pass === true or authentication === "pass" today: no message meets either condition.
To gate automated routing now, require dkim_pass === true or spf_pass === true, and treat false, null, and missing values as unverified. SPF and DKIM passes do not confirm that the signing or sending domain matches the domain in the visible From header. Use them to filter out unauthenticated mail, not as proof of who sent it.
DMARC checks alignment with the domain in the message's From header. The from field in email.received contains that header address, with the relay's parsed sender and then the envelope sender as fallbacks when the header cannot be read. In email_mailbox.message_received, from contains the envelope sender, which may be a different bounce address. For mailbox routing that uses the visible sender, fetch the received message's metadata using the event's message_id. A DMARC pass authenticates a domain; it does not establish that a particular person sent the message.
Next steps
- Sending domains: register and verify the domain you want to receive on.
- Webhooks: endpoints, signatures, and retries for
email.received. - Superagent: score received mail before an agent acts on it.
- Email log: the sending side of the Emails page.
Related resources
Continue with the documentation, guides and examples for this topic.