Add DNS records · AWS Route 53
When you add a sending domain to Bird, the domain's detail page in the Bird dashboard lists every DNS record to publish, each with a copyable host and value. Keep that page open in one tab and the AWS console in another — every value below is copied straight from Bird, never typed by hand.
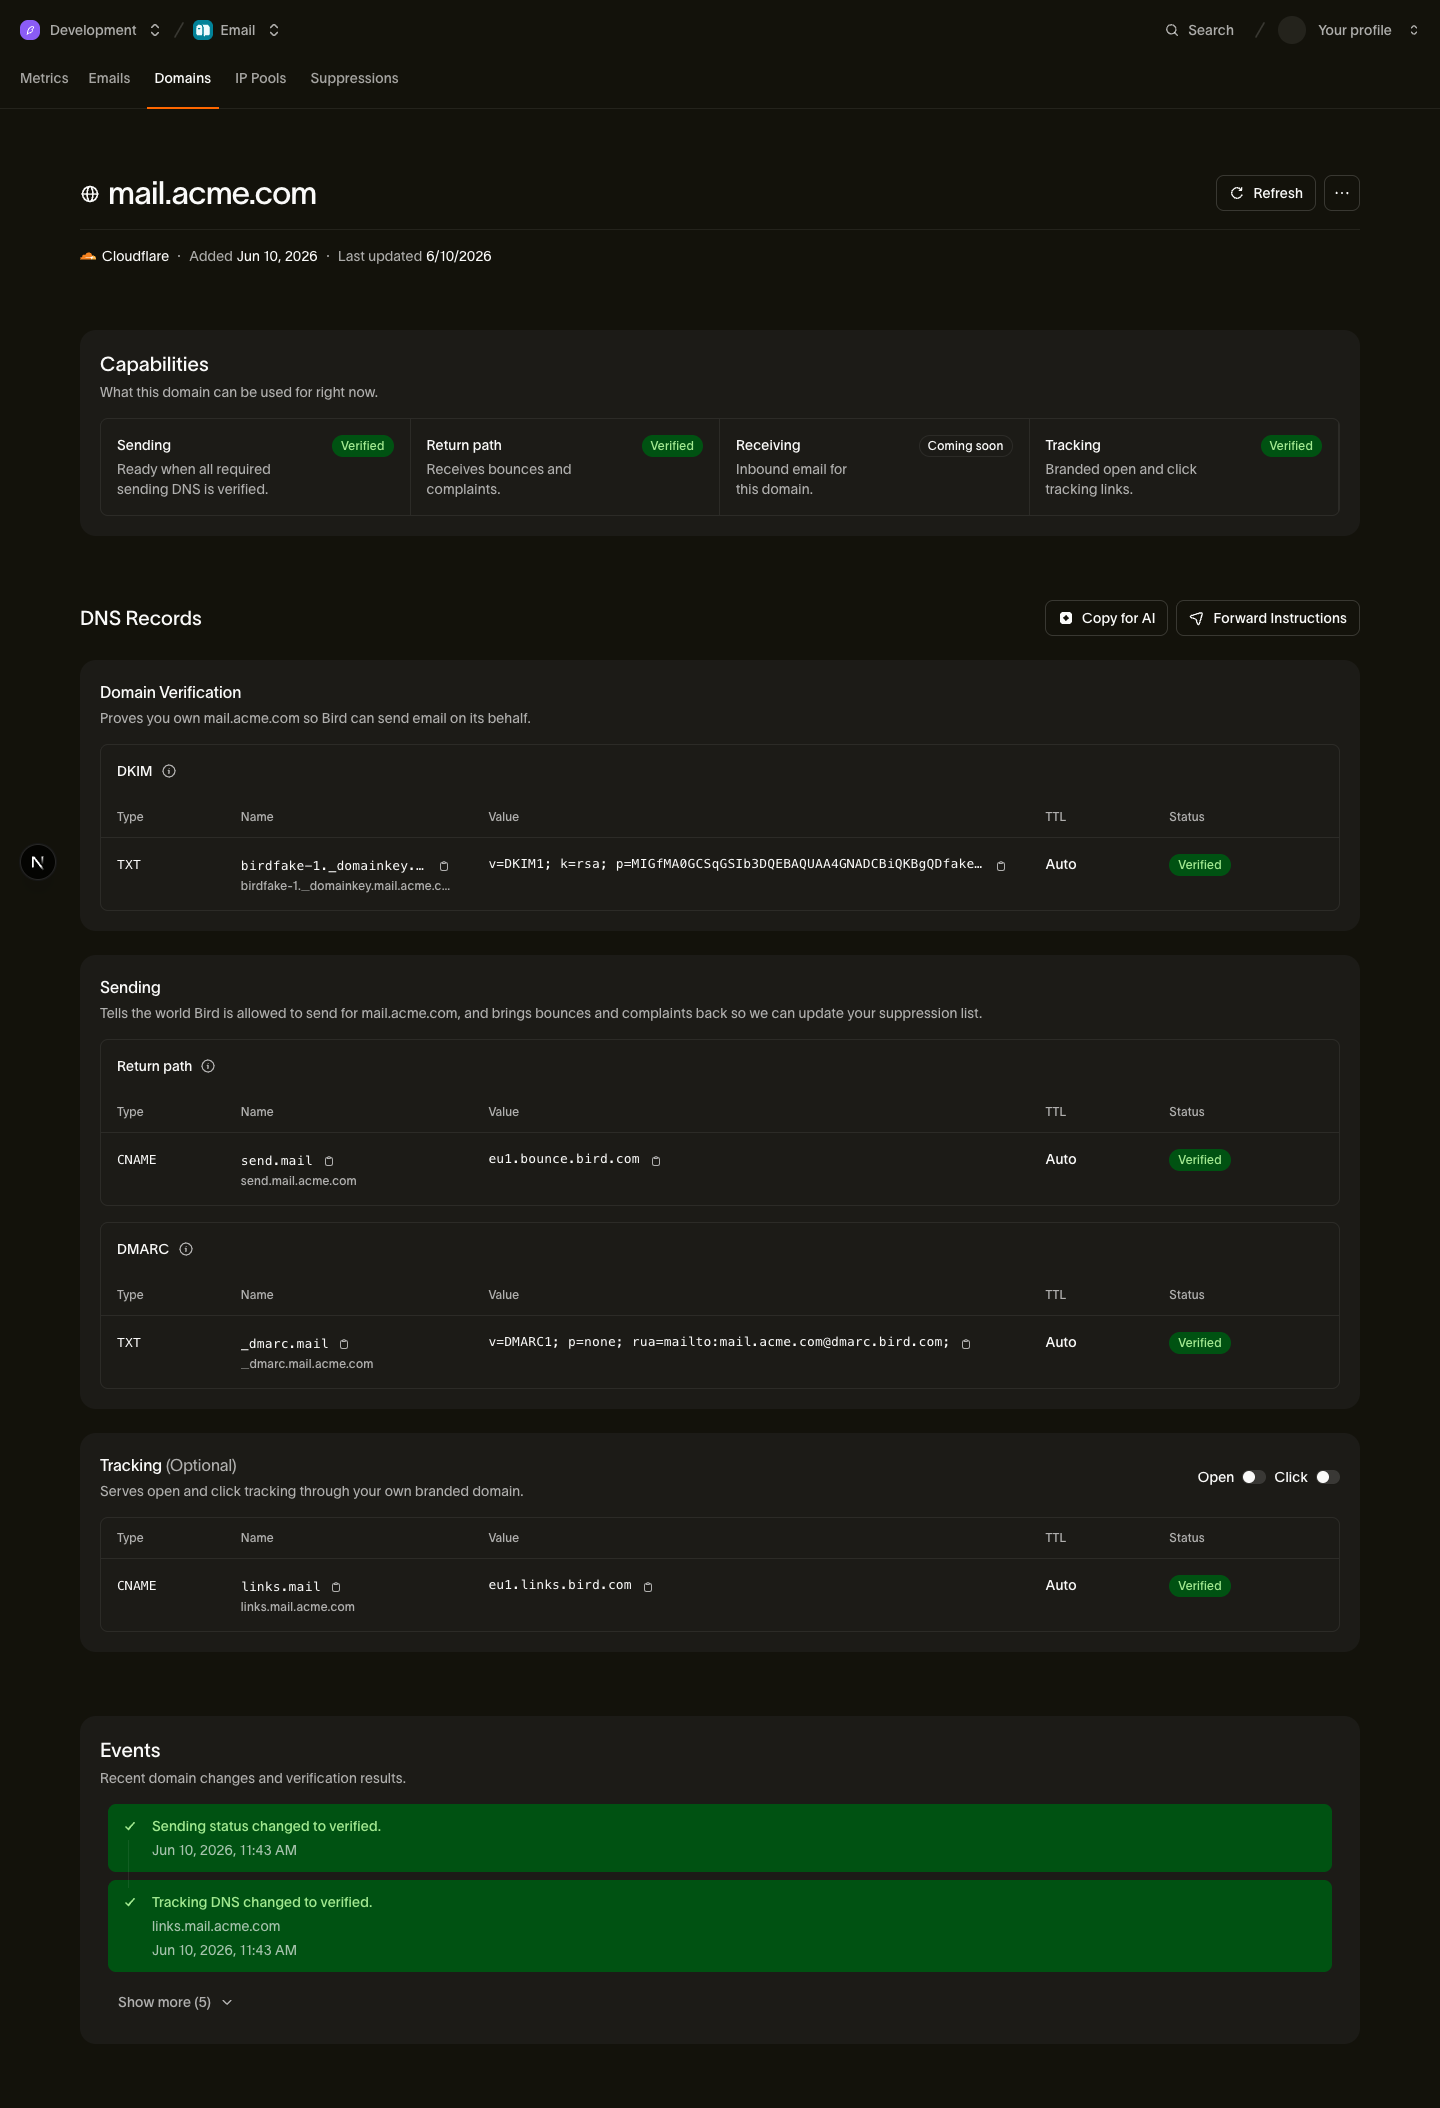
The records you'll add
| Type | Host | Value (copy from Bird) |
|---|---|---|
| TXT | <selector>._domainkey.example.com | Your DKIM key |
| CNAME | send.example.com | <region>.bounce.bird.com |
| TXT | _dmarc.example.com | Your DMARC policy |
| CNAME | links.example.com (optional) | <region>.links.bird.com |
The tracking CNAME (links) is optional — it only enables branded open and click tracking, not sending itself.
Add the records in Route 53
- Sign in to the AWS console and open Route 53.
- In the left sidebar, choose Hosted zones, then click the public hosted zone whose name matches your sending domain.
- Click Create record.
- For the DKIM record: paste the host's subdomain part from Bird (everything before your domain, for example <selector>._domainkey) into Record name, set Record type to TXT, and paste the DKIM value from Bird into Value. Keep Routing policy on Simple routing. Click Create records.
- Click Create record again. For the return-path record: enter send as the Record name, set Record type to CNAME, and paste the target from Bird (for example <region>.bounce.bird.com) into Value. Click Create records.
- Click Create record again. For the DMARC record: enter _dmarc as the Record name, set Record type to TXT, and paste the DMARC value from Bird into Value. Click Create records.
- If you want branded tracking, add the optional tracking record the same way as step 5: Record name links, Record type CNAME, Value <region>.links.bird.com. Click Create records.
Route 53-specific gotchas
- Don't add your own quotes to TXT values. Route 53 wraps TXT values in double quotes automatically. Paste the value exactly as Bird shows it — if you add quotes yourself, the published record contains literal quote characters and verification fails. Route 53 also caps a single quoted string at 255 characters; if the DKIM value is longer, use the DNS record splitter to break it into the multiple quoted strings a TXT record can hold.
- Make sure the zone is actually serving the domain. It's common to have a hosted zone that exists in Route 53 while the domain's nameservers point somewhere else (an old registrar, a second AWS account, a duplicate zone). Compare the zone's NS record set against the nameservers your registrar lists for the domain — if they differ, records you add here are never seen by the internet and the domain never verifies.
- Use Simple routing. Leave Routing policy on Simple routing for all four records; weighted, latency, or failover policies are not needed and only add ways for the lookup to go wrong.
After you publish
Bird checks your DNS automatically — verification usually completes within minutes of the records going live, and you can trigger an immediate re-check from the domain's detail page. If the domain stays pending longer than expected, see Verification delays.