Visite guidée du tableau de bord
Utilisez cette page pour repérer où se trouvent les principaux contrôles et ressources du tableau de bord. Si vous avez récemment créé votre compte, commencez ici.
Vous êtes toujours dans un espace de travail. La barre latérale est la navigation principale. All products ouvre le catalogue de produits et Platform tools ouvre les ressources partagées et les outils pour développeurs. L'en-tête contient le fil d'Ariane, la recherche et votre profil.
Où vous passerez votre première session
Trois étapes couvrent la configuration initiale d'un nouveau compte :
- L'étape de configuration de votre canal. Chaque canal commence par prouver qui vous êtes : enregistrer l'identité depuis laquelle vous enverrez. La présentation de chaque canal détaille sa propre configuration : Email.
- Clés API : créez une clé pour le produit ou l'outil qui se connecte à Bird. Chaque clé appartient à votre espace de travail. Ouvrez Platform tools > Clés API, ou utilisez la recherche et tapez clés API.
- Settings > Team : invitez des membres et attribuez-leur les accès nécessaires. Voir Inviter votre équipe.
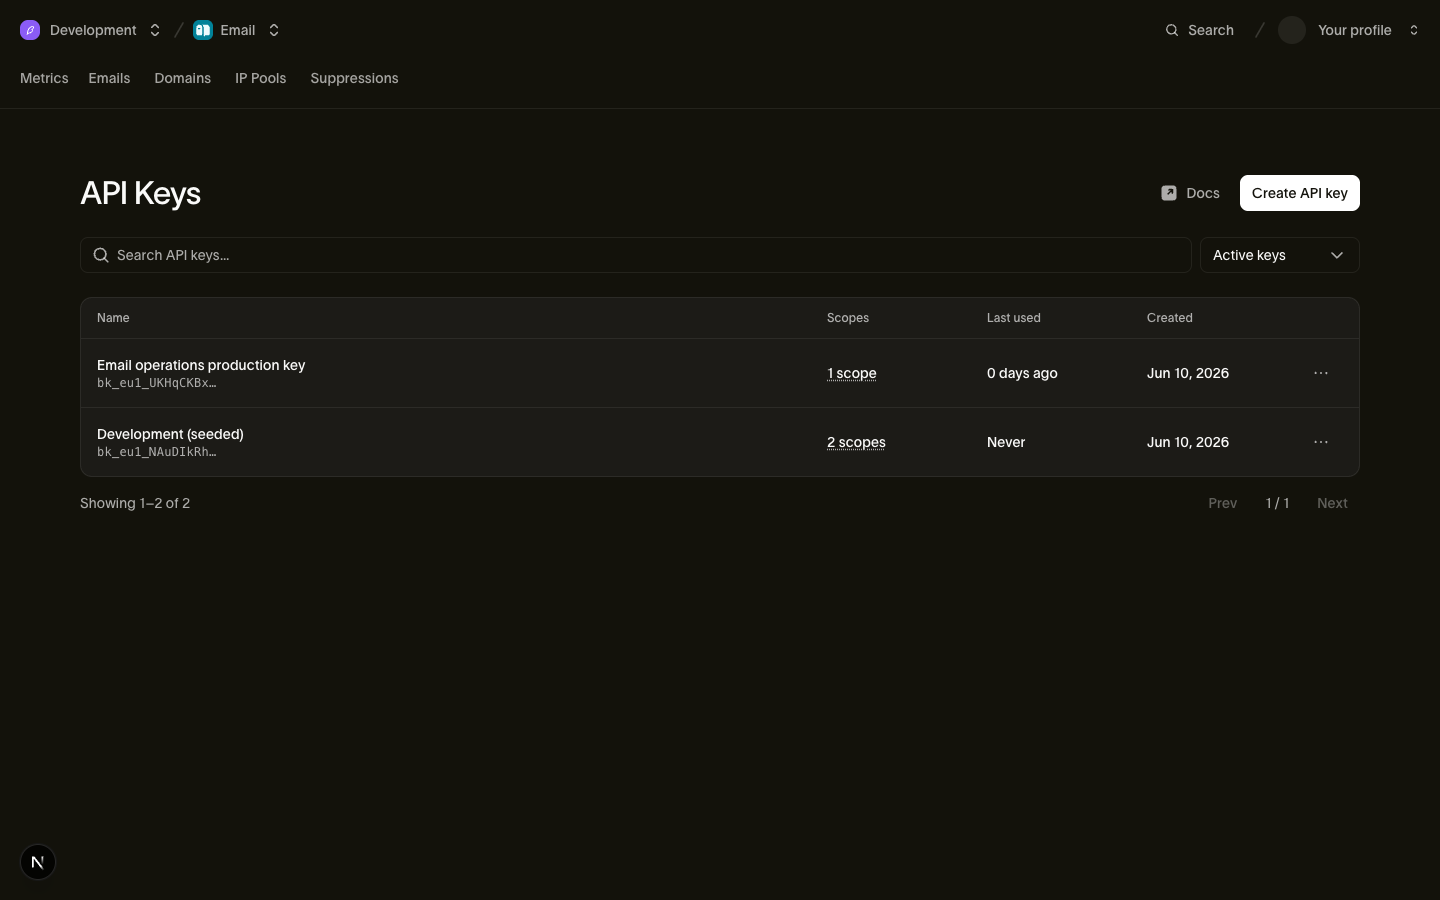
Passez aux autres sections au fur et à mesure que votre configuration d'envoi le nécessite.
La barre latérale
La barre latérale s'ouvre avec une barre de recherche (Cmd + K sur macOS ou Ctrl + K sur Windows et Linux), des raccourcis et les menus All products et Platform tools.
All products liste les canaux et applications disponibles dans votre espace de travail. Home renvoie à la vue d'ensemble de votre espace de travail. Les lignes de produits ouvrent un second panneau avec des pages pour l'activité, les métriques, la configuration ou d'autres paramètres propres au produit. Le nom du produit dans ce panneau sert aussi de contrôle de retour : sélectionnez-le pour rouvrir la barre latérale principale.
Platform tools contient les enregistrements partagés couvrant plusieurs canaux : Contacts et Numbers sont au niveau de l'espace de travail, tandis que Identity Center couvre l'ensemble de l'organisation.
Ouvrez Platform tools pour trouver les clés API, les Webhooks et les Logs. Les épingles de la barre latérale sont des raccourcis personnels ; l'absence d'une épingle ne signifie pas qu'une page est indisponible.
Pages de canal
Chaque canal donne accès à un ensemble cohérent de pages pour son journal d'activité, ses métriques et sa configuration.
La présentation de chaque canal documente ses pages une par une : Email.
Facturation et paramètres
- Upgrade apparaît dans la barre supérieure lorsque vous disposez d'un accès à la facturation et ouvre les pages de facturation de votre organisation.
- Settings ouvre les pages de l'espace de travail, de l'organisation, des notifications et de l'équipe. Les entrées affichées dépendent de vos permissions.
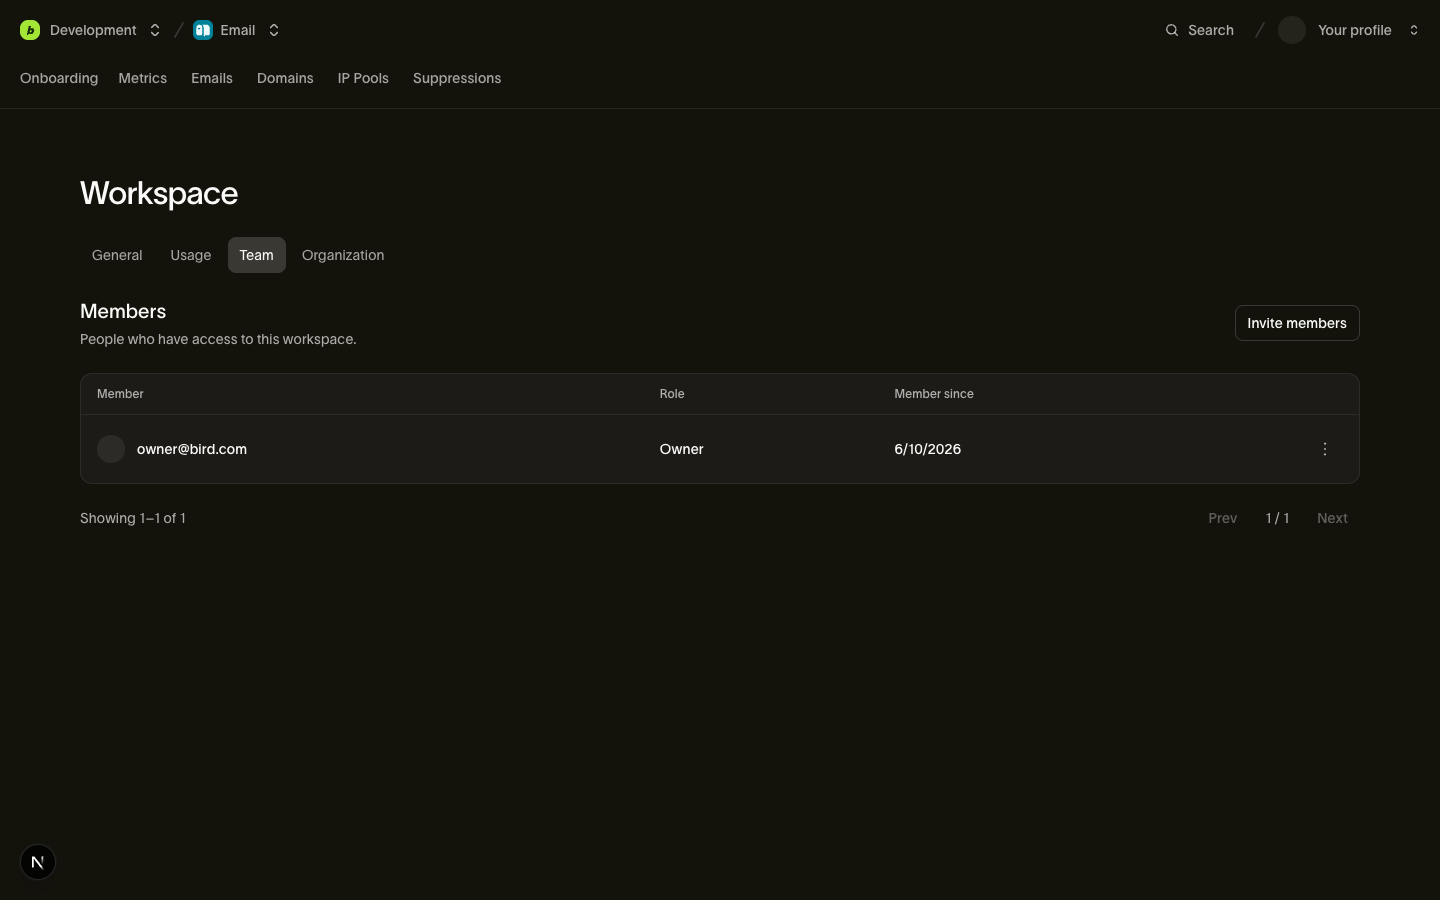
Recherche et aide
- Search ouvre la palette de commandes depuis la barre de recherche dans l'en-tête de la barre latérale. Appuyez sur Cmd + K sur macOS ou Ctrl + K sur Windows et Linux, puis tapez pour accéder à n'importe quelle page ou canal de l'espace de travail.
- Sélectionnez Help pour ouvrir Ask Bird, puis Contact Support pour contacter le support Bird.
Votre profil
Le menu de votre profil affiche les invitations en attente. Il ouvre aussi les paramètres du compte pour votre profil, la Sécurité, les Sessions actives et les Applications connectées.
Étapes suivantes
- Configurez votre canal de bout en bout : Présentation Email
- Intégrez les bonnes personnes : Inviter votre équipe
Ressources associées
Poursuivez avec la documentation, les guides et les exemples sur ce sujet.