نظرة عامة
يمكنك تصدير بيانات مستوى الاتصال - مثل السمات وأحداث قياس التقارير - إلى دلو Amazon S3 الخاص بك لمزيد من التحليل أو الأرشفة أو التكامل مع مستودع بياناتك. يشرح لك هذا المقال كيفية الإعداد وعملية التصدير.
المتطلبات المسبقة
قبل البدء، تأكد من أن لديك:
الوصول إلى دلو Amazon S3 الخاص بك
بيانات الاعتماد (معرّف مفتاح وصول AWS ومفتاح الوصول السري) مع الأذونات المناسبة
أذونات مسؤول مساحة العمل في Bird
تمكين تدفقات البيانات في Bird
قم بإعداد دلو S3 الخاص بك
إعداد تدفق البيانات في بيرد
انتقل إلى سير العمل > تدفقات البيانات أو رمز المستخدم > وحدة التحكم الإدارية > سير العمل > تدفقات البيانات
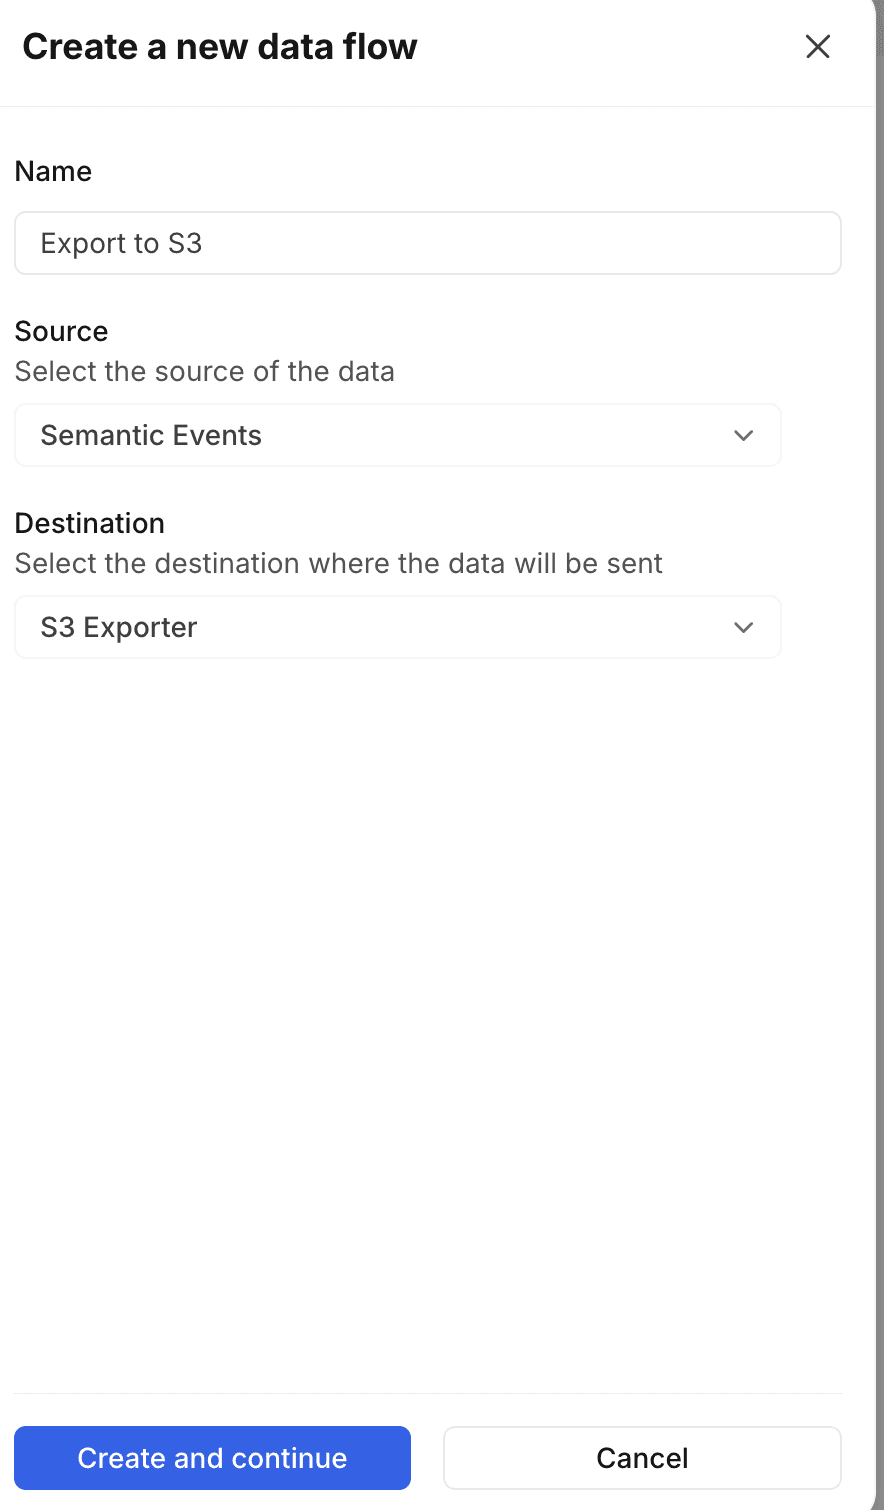
إنشاء تدفق بيانات جديد مع
المصدر: الأحداث الدلالية
الوجهة: مُصدر S3
انقر على إنشاء واستمر
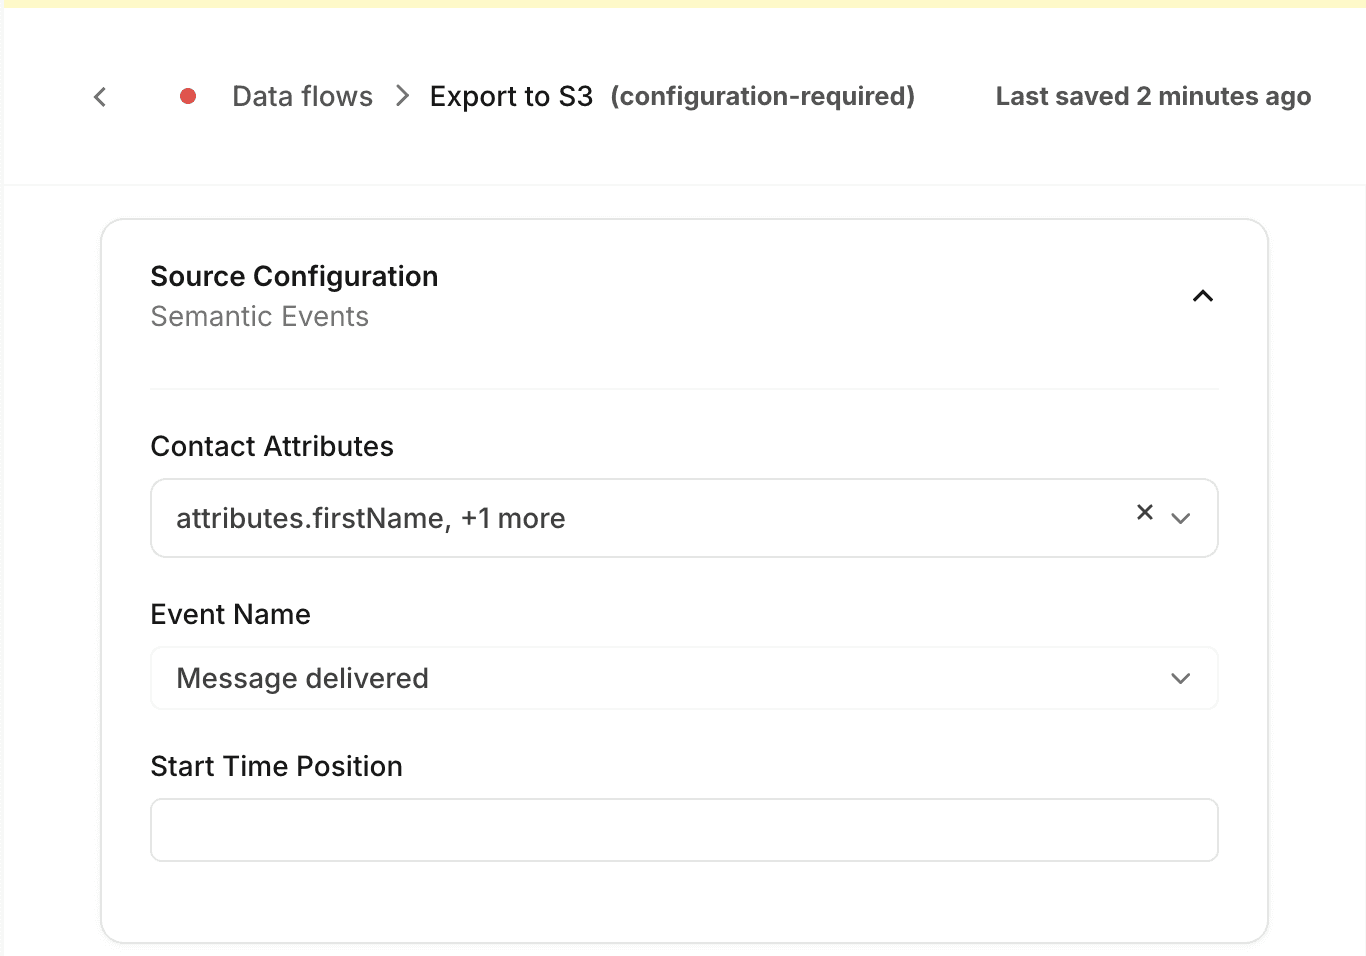
في تكوين المصدر، حدد ما يلي
سمات الاتصال
اسم الحدث
تاريخ البدء والوقت بتنسيق YYYY-MM-DDZHH:MM:00.000Z على سبيل المثال 2025-02-02T05:00:00.000Z
في تكوين الوجهة، قدم ما يلي
اسم دلو S3
المنطقة AWS
تنسيق البيانات: Parquet أو CSV أو JSON
السابقة: المجلد الفرعي الذي ستُكتب فيه بياناتك. على سبيل المثال
bird/contacts/dataاسم الملف: يتم تسمية الملفات تلقائيًا مسبوقة بطابع زمني ولاحقًا برقم تسلسلي. يمكن اختيارياً تقديم اسم مخصص سيظهر بين هذين العنصرين.
الحد الأقصى للسجلات لكل ملف: الحد الأقصى لعدد السجلات التي ينبغي أن يحتويها كل ملف.
تنسيق التاريخ: حدد تنسيق الطابع الزمني لاستخدامه في أسماء الملفات.
معرف مفتاح الوصول: معرف مفتاح الوصول المستخدم للاتصال بدلو S3 الخاص بك.
سر مفتاح الوصول: سر مفتاح الوصول المستخدم للاتصال بدلو S3 الخاص بك.
انقر على حفظ لحفظ تدفق البيانات. يمكنك النقر على تمكين تدفق البيانات.
انقر على تشغيل الآن لتشغيله يدويًا
ارجع إلى عرض القائمة والنقر على النقاط الثلاث وحدد جدول التحديث عندما ينبغي تشغيله تلقائيًا، على سبيل المثال @every24h أو استخدم تنسيق CRON مثل 0 0 0 * * *
