Get Started
Create a message template in Bird
Message templates in Bird are customizable, reusable messages that can be sent across various communication channels such as WhatsApp, SMS, Push, and RCS. Once published, these templates become accessible in your template library and can be utilized in Flows, by Inbox agents during customer conversations, or distributed to audiences via Campaigns. Follow this step-by-step guide to create a message template in Bird.
Business in a box.
Discover our solutions.
Log in to the app
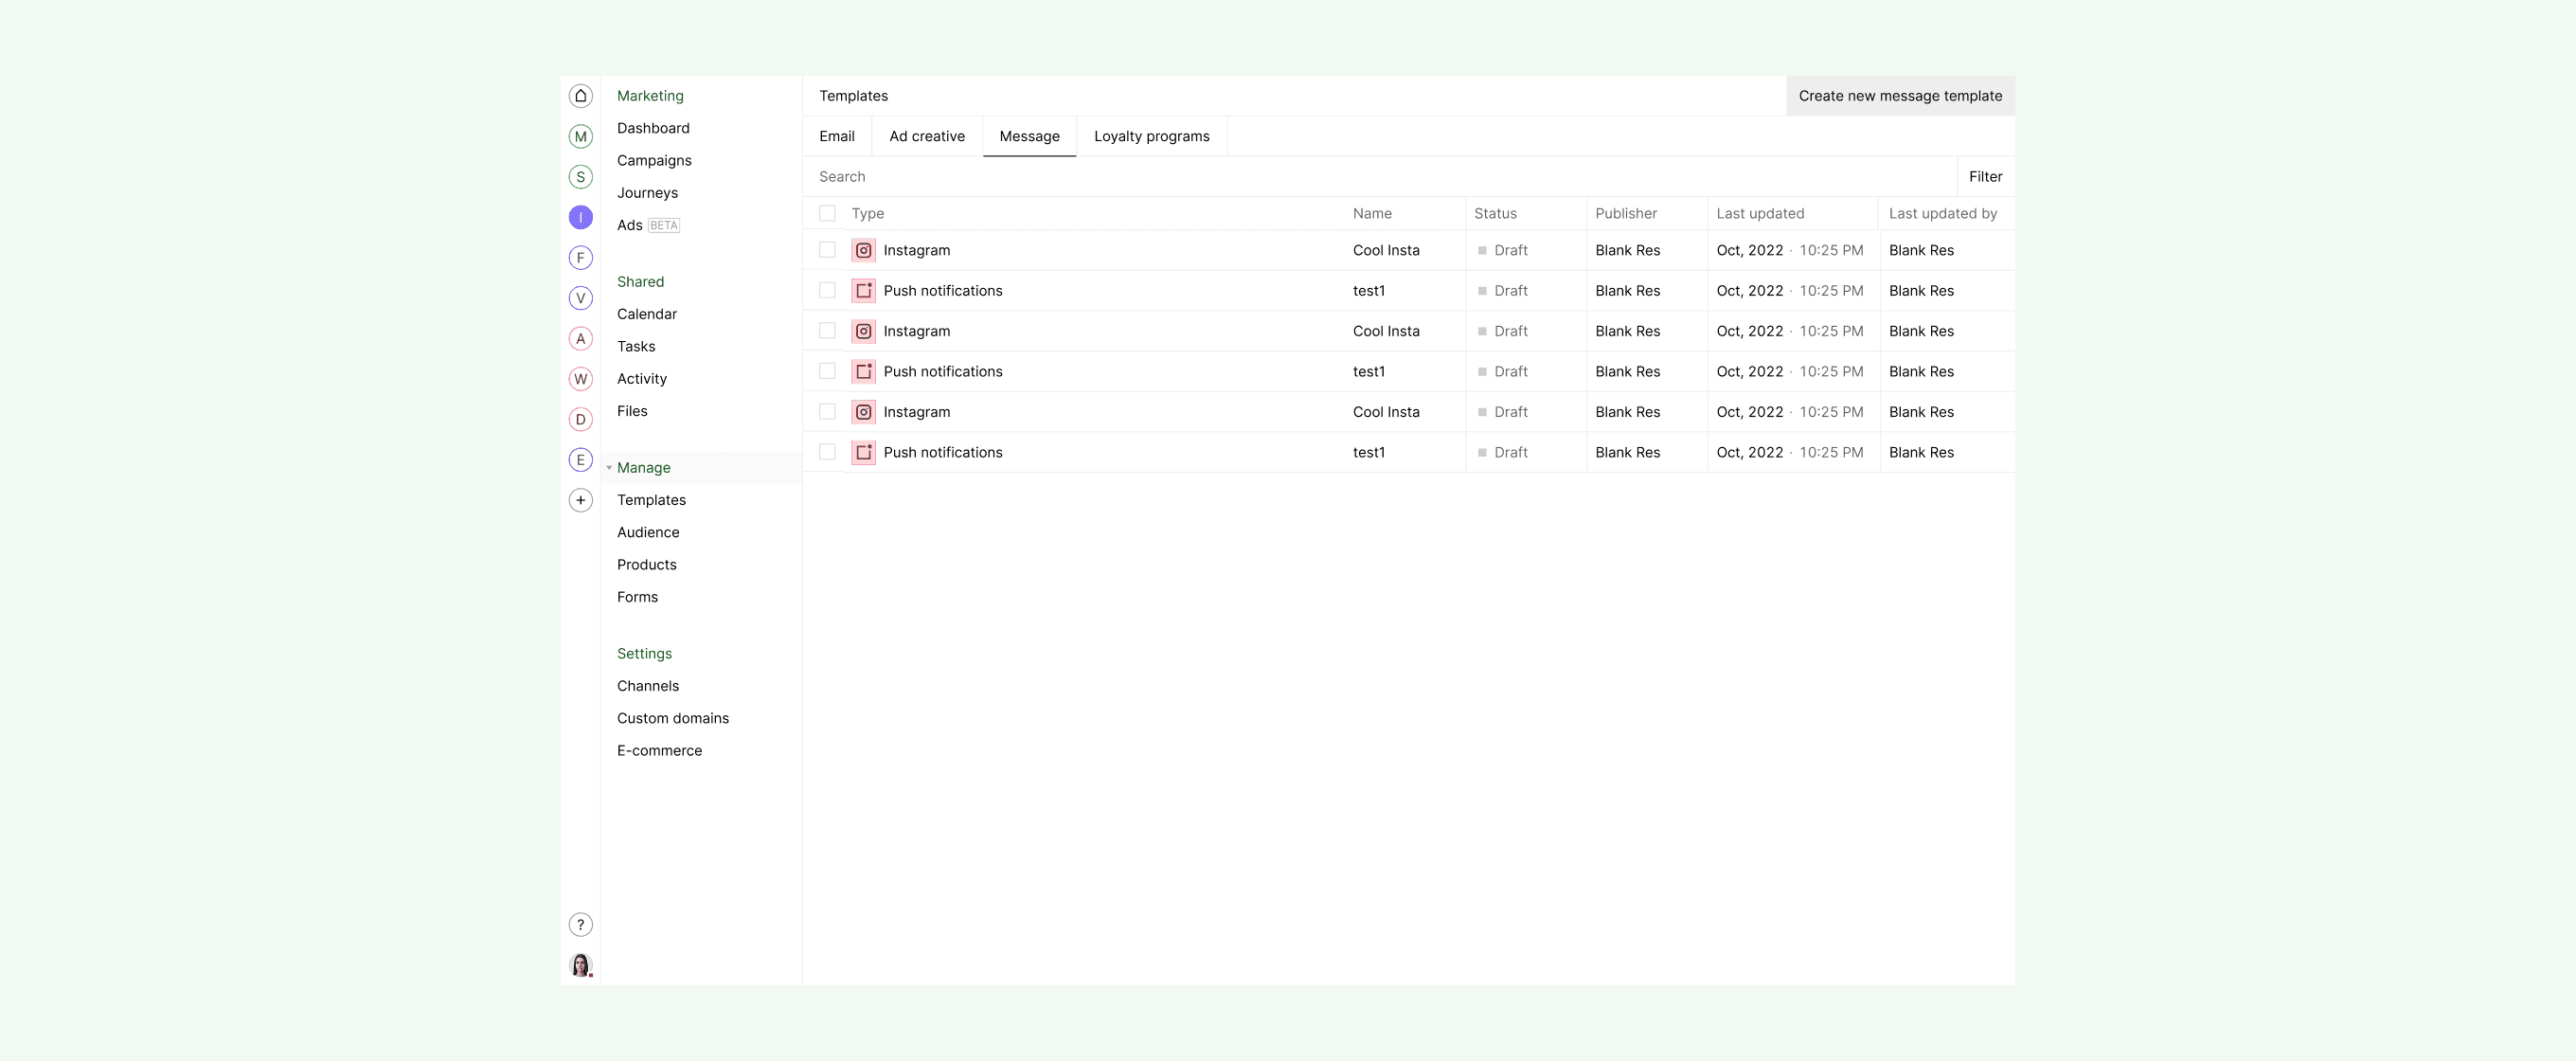
Step 1: access the message templates section
Navigate to your Bird marketing dashboard.
Go to the Manage section.
Under Content, select Message Templates.
Step 2: initiate a new message project
Click on Create New Message Project.
In the Platform section, choose the communication channel for your message template, such as SMS, WhatsApp, Instagram, or Mobile Push. For this example, select WhatsApp.
Step 3: configure interaction type and message category
Interaction Type:
Choose WhatsApp Approved if you intend to proactively reach out to customers.
Select Reply to Conversation if you're responding to an existing conversation.
Message Category:
Marketing: for promotional content.
Authentication: for verification purposes.
Utility: for transactional messages.
Step 4: select message type and define project details
Set Global Styles:
In the Styles tab, define overall settings such as background color, email width, and default font styles.
Configure text and link colors, as well as letter and line spacing.
Add Custom Fonts:
Choose a Google Font from the dropdown list and set a fallback font.
Alternatively, add a custom font by providing the necessary details and specifying a fallback font.
Customize Buttons:
In the Styles tab, adjust button colors, shapes, and styles to align with your brand.
Step 5: add and format message content
In the Studio editor, input and format your message content.
To personalize the message, add variables like the recipient's first name:
Click on the variable icon in the bottom right corner of the content box.
Select Create New Variable.
In the Settings tab, provide the variable's name (e.g., "FirstName"), description, and default text.
Click Save.
Return to the editor, click where you want to insert the variable, click the variable icon, and select the newly created variable.
Step 6: add additional content blocks
To add other content blocks:
Click the back arrow next to Text Body.
Click Add New Block and choose the desired block type from the dropdown list.
To upload images:
Upload the image file.
Provide an image URL that directs to your website or a specific product page.
The text footer will automatically include an unsubscribe option, which is a legal requirement for all marketing messages.
Step 7: preview and finalize the template
Click on the Preview tab to see how your message will appear to recipients.
Review the Settings to ensure all configurations are correct.
If you plan to send the message in multiple languages, add the necessary translations now to ensure proper localization.
Step 8: save and publish the template
Save Your Work:
Click Save to ensure all changes are stored.
Publish the Template:
Once satisfied with the design and content, click Publish.
Your template is now ready for use in campaigns and journeys.
By following these steps, you can create a customized and professional email template in Bird that aligns with your brand and effectively engages your audience.